
Click the Client Profiles link on the SmartBorder Main Page:
You’ll want to begin by getting familiar with the menu options on the transaction screen of the Profiles module. Once you’ve created your profile, you can return to this transaction screen to print documents, as well as perform the transmissions/queries associated with the profile.
|
Menu Option |
Description |
|
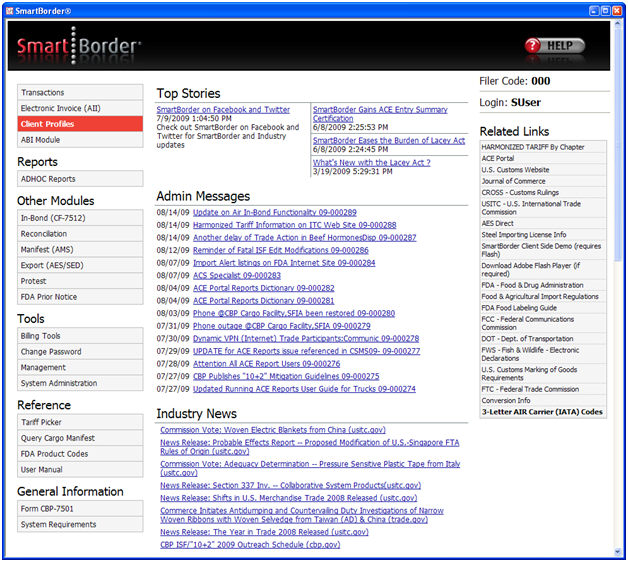
File - New |
Create a new client profile. |
|
File - Open |
Open a saved profile. You can open the profile by customer number, or you can search the grid for the desired profile. |
|
File - Save |
Save the current profile. |
|
File - Close |
Close the current profile. This will not close the profile module. |
|
File - Exit |
Close the current profile, and exit the profile module |
![]()
|
Menu Option |
Description |
|
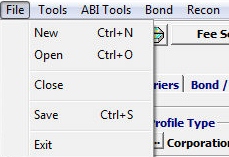
Tools - Fee Schedules |
Open the fee schedules screen, where you can add/edit fee schedules associated with this profile. You can also click the Fee Schedules button to access this screen. |
|
Tools - Profile Products |
Open the product list screen, where you can add/edit product lists for this profile. You can also click the Product List button to access this screen. |
|
Tools - Transaction Parties |
Open the transaction parties screen, where you can add/edit transaction parties associated with this profile. You can also click the Transaction Parties button to access this screen. |
|
Tools - Linked Profiles |
Open the linked profiles screen, where you can add/edit fee linked profiles associated with this profile. You can also click the Linked Profiles button to access this screen. |
|
Tools - Certs |
Open the profile certs screen, where you can add/edit profile certifications associated with this profile. Examples of these certs include NAFTA, TSCA, etc. |
|
Tools - NAFTA Renewals |
Open the NAFTA renewals screen, where you can add/edit NAFTA renewals for this profile. |
|
Tools - Imaging |
**Please submit a ticket to our Support Staff if you are interested in document imaging. |
|
Tools - Aliases |
Open the profile aliases screen, where you can add/edit profile aliases for this profile. |
|
Tools - Power of Attorney |
Open the power of attorney screen, where you can add/edit power of attorney information for this profile. |
|
Tools - Mark *NOT* Ok to Clear |
Use this option to restrict a profile. See ProfilesGuide for more information on Restricting / Removing a Profile. |
|
Menu Option |
Description |
|
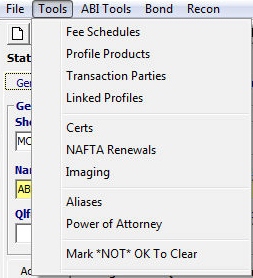
ABI Tools - ABI Messages |
Open the ABI message browser. Use this option to check the ABI status of your profile transmission/query. |
|
ABI Tools - Send Mfg Name & Address |
Send the manufacturer name and address information to customs. |
|
ABI Tools - Send CF-5106 |
Send the CF-5106 transmission to customs. If this 5106 is not send, this will be an “add” transmission. If it has previously been sent, the system will send an “update” transmission. |
|
ABI Tools - Query Consignee |
Send a consignee query for the profile client. This will open the Query Consignee screen, where you can manually enter information if it differs from the information found in the client profile. |
|
ABI Tools - Query Importer/Bond |
Send an importer/bond query on for the client profile. This will bring the bond information into the profile, and this process can be performed by clicking the Query Bond Info button on the Bond/MID/Line release tab. |
***Please submit a help ticket to our Support Staff to activate this feature
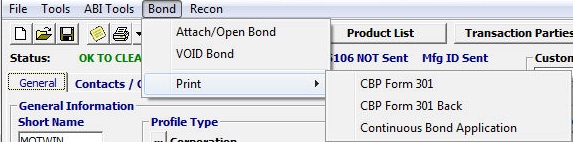
| Menu Option | Description |
| Bond - Attach/Open Bond | Open attached SEB / Bond info |
| Bond - VOID Bond | Void the attached Bond |
| Bond - Print | Print Bond (usually used for placing SEB / continuous bond on file with surety company) |
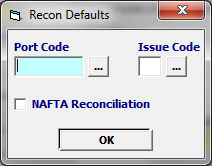
| Recon Default Menu Option | Description |
| Port Code | Enter the port code for Recon |
| Issue Code | Enter the Issue Code for Recon (see ellipses) |
| NAFTA Recon | Mark this box if claiming NAFTA for Recon |
Now that you're familiar with the basics of Client Profiles, you're ready to begin Creating a Profile.