
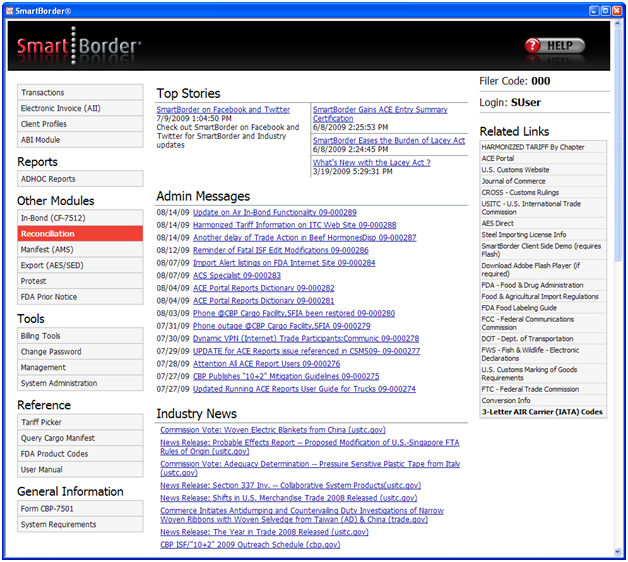
Click the Reconciliation link on the SmartBorder Main Page:
You’ll want to begin by getting familiar with the menu options on the main screen of the Reconciliation module. Once you’ve created your complete reconciliation, you will return to this transaction screen to perform the transmissions associated with the Recon transaction. Completing your Reconciliation transaction may require that you review some other portions of this manual, in order to become familiar with other modules of SmartBorder (ex. Billing).

|
Menu Option |
Description |
|
File - New |
Create a new reconciliation transaction. |
|
File - Open |
Open a saved reconciliation transaction. This will open the reconciliation transaction grid, where you can search for the desired transaction. |
|
File - Save |
Save the current reconciliation transaction. |
|
File - Close |
Close the current reconciliation transaction. This will not close the reconciliation module. |
|
File - Print/Print Preview |
Print the bill associated with the current transaction. Click Print Preview to view this bill on your screen. |
|
File - Exit |
Close the current reconciliation transaction, and exit the reconciliation module. |
|
Menu Option |
Description |
|
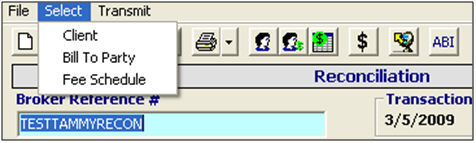
Select - Client |
Open the client pick-list, which will allow you to search for and select the client for this reconciliation transaction. You can also do this by clicking the ellipsis in the client field. |
|
Select - Bill To Party |
Open the client pick-list, which will allow you to search for and select the bill-to party for this reconciliation transaction. You can also do this by clicking the ellipsis in the bill to party field. |
|
Select - Fee Schedule |
Open the fee schedule pick-list, which will allow you to search for and select the fee schedule for this reconciliation transaction. |

|
Menu Option |
Description |
|
Transmit - Reconciliation |
Click to transmit your reconciliation transmission to Customs. |

|
Menu Option |
Description |
|
File - Save |
Save the current reconciliation. |
|
File - Exit |
Close the current reconciliation, and exit to the reconciliation transaction screen. |
|
Validation Tool |
Open the validation screen, and validate that your reconciliation is free of errors, prior to transmitting your reconciliation data. These validations also run automatically upon saving your reconciliation. |
Now that you're familiar with the basics of the Reconciliation module, you're ready to begin Creating a Recon Transaction