

Begin by viewing the video below for creating a new report:
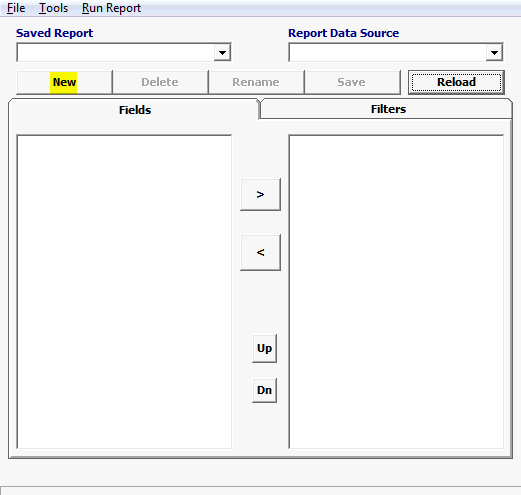
Click New to start a new report
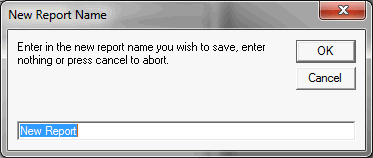
Enter a name for your report in the New Report Name box
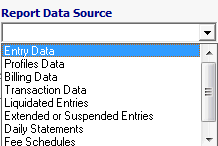
Choose a Report Data Source from the drop down menu
|
Data Source |
Description |
|
Entry Data |
Data related to entries. (Ex. Entry Type, Release Date, etc.) |
|
Profiles Data |
Data related to profiles (customer information). (Ex. Address, Tax ID, Phone #, etc.) |
|
Billing Data |
Data related to bills. (Ex. Bill To, Accounting Code, Bill #, etc.) |
|
Transaction Data |
Data related to the transaction. (Ex. Created On, Created By, Transaction Type, etc.) |
|
Liquidated Entries |
Data related to liquidated entries. (Ex. Liquidated date, Duty, etc.) |
|
Extended or Suspended Entries |
Data related to extended/ suspended entries. (Ex. Extension Suspension Code, Times Extended, etc.) |
|
Daily Statements |
Data related to daily statements. (Ex. Amount Paid, Statement #, etc) |
|
Fee Schedules |
Data related to fee schedules. (Ex. Fee type, special condition, etc.) |
|
User Login Data |
Data related to user login. (Ex. User name, Date user signed on, etc.) |
For our example, titled "Sample Report", we’ve chosen Entry Data as the data source
Now that you’ve created a report, you’re ready to customize it to your needs. This begins with the selection of report Fields. Choose the desired fields and these will be the output when you run the report.
Click on the Fields tab
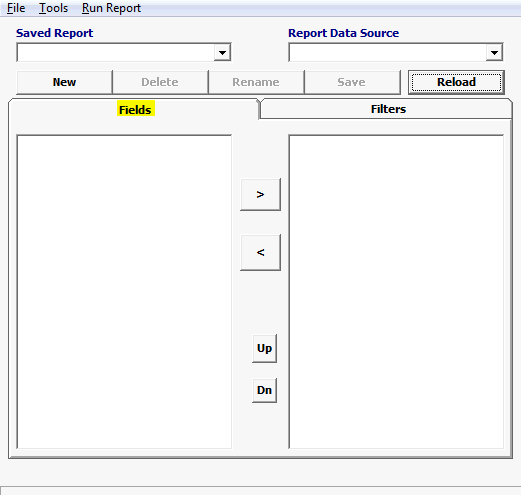
The listing of available fields is determined by the selected Report Data Source. If you do not see the desired fields, you can change the data source at any point.
Note: Changing the report data source will cause you to lose all fields/filters that you’ve selected. Use caution when changing this source, and be sure to save changes to avoid loss of data.
Select a field, and click the ![]() button to move it to the right column. Select the fields in the order that you’d like them to appear when you run the report
button to move it to the right column. Select the fields in the order that you’d like them to appear when you run the report
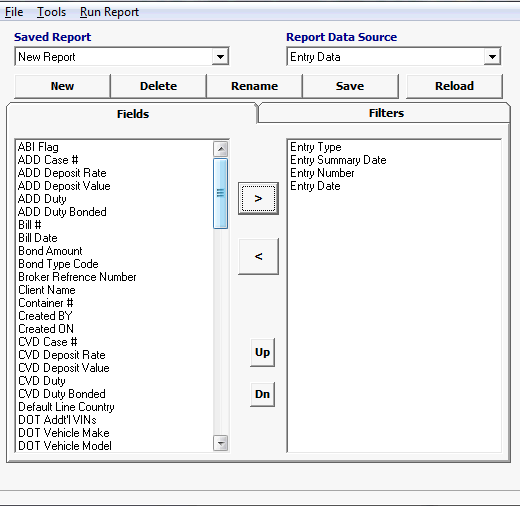
In our "Sample Report", we’ll use the fields listed in the right column. We’ll also click ![]() to move Port of Entry over to the column on the right, with the other selected fields.
to move Port of Entry over to the column on the right, with the other selected fields.

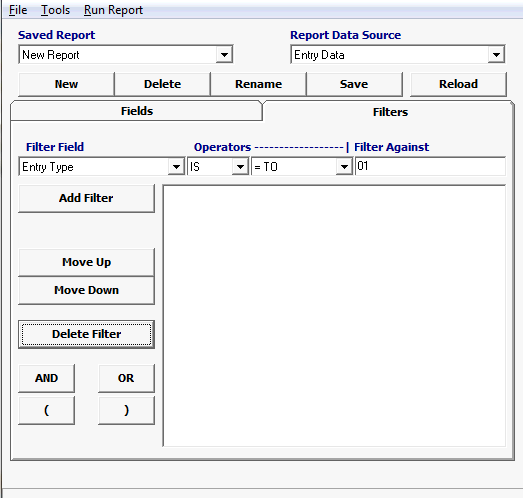
The next step in generating your report is to select Filters. These filters will determine which results will be displayed in the finished report.
|
Field/Button |
Description |
|
Filter Field |
Choose the field that will be used for this filter. The example above uses Entry Type. |
|
Operator (1) |
The first operator field is a choice between IS and IS NOT. This determines if your filter result will be all files that match the filter criteria (IS), or if the result will display everything that doesn’t match the specified filter criteria (IS NOT). |
|
Operator (2) |
Choose from: = TO > THAN (greater than) < THAN (less than) STARTS WITH CONTAINS This will determine the filter function. For this example, we use "= TO". |
|
Filter Against |
Enter the data, amount, or other specific identifier for which this filter will compare the filter field against. The example above uses 01 (entry type for a formal entry). |
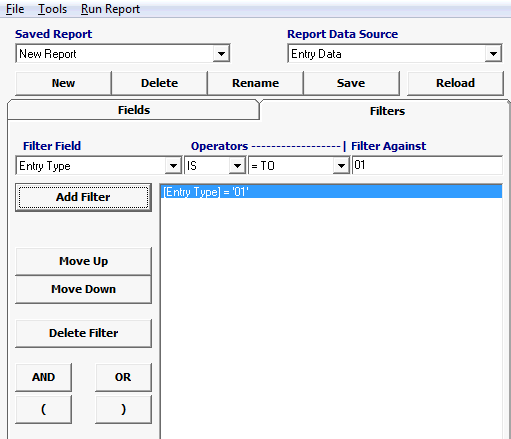
The command buttons on the left side of the filter column will allow you to add/manage filters
For our "Sample Report", we want all entries with Entry Type = 01 (formal entries)
|
Field/Button |
Description |
|
Add Filter |
Click Add Filter once you’ve selected your filter criteria. This will add a line to the filter column, which contains the complete description of your filters |
|
Move Up/ Move Down |
Use these commands to move the placement of your filters in the filter column. These filters will process in order, so please be sure that the order of your filters is correct for the desired results. |
|
Delete Filter |
Click Delete Filter to delete the selected filter. This is also used to delete other filter command functions (ex. AND, OR, etc.) |
|
AND / OR |
These are conditional commands that can be used to refine your filter(s). AND will require that the file matches both filters. OR will require that the file matches one of the two filters. |
|
(Parentheses) |
These are used as if this were a mathematical equation. The parentheses are to denote the order in which the functions/filters will be run. Any functions/filters in parentheses will be processed first, followed by those located outside of parentheses. |
Please review the provided Report Examples for assistance with creating reports in SmartBorder.
Once you've completed your report, move on to Running a Report.